Shooting the Milky Way over Tenaya Lake — Planning, Technique, and What I Got Wrong
Yosemite National Park is likely the most visited National Park in the country, averaging about 4 million visitors annually. However, there's a version of Yosemite that most visitors never see. Not because it's hidden — but because it requires an alarm set for 4am, a willingness to stand in frost up to your ankles, and the patience to wait for light that may or may not show up.
I am blessed to live about 3.5 hours away from Yosemite valley and Ive visited it almost every other week since late Feb when I made the trip to capture Firefall. With Milky Way season upon us, Ive been itching to go back and capture the milky way rising above Tenaya Lake. On May 15th, Tioga Pass finally opened to vehicular traffic. I hopped into the car that afternoon and made my way to Yosemite. I had two opbjectives - Milky Way core lined up over Tenaya Lake and landscape photos over Tuolumne Meadows early the next morning. This was going to be a long night…
Olmsted Point
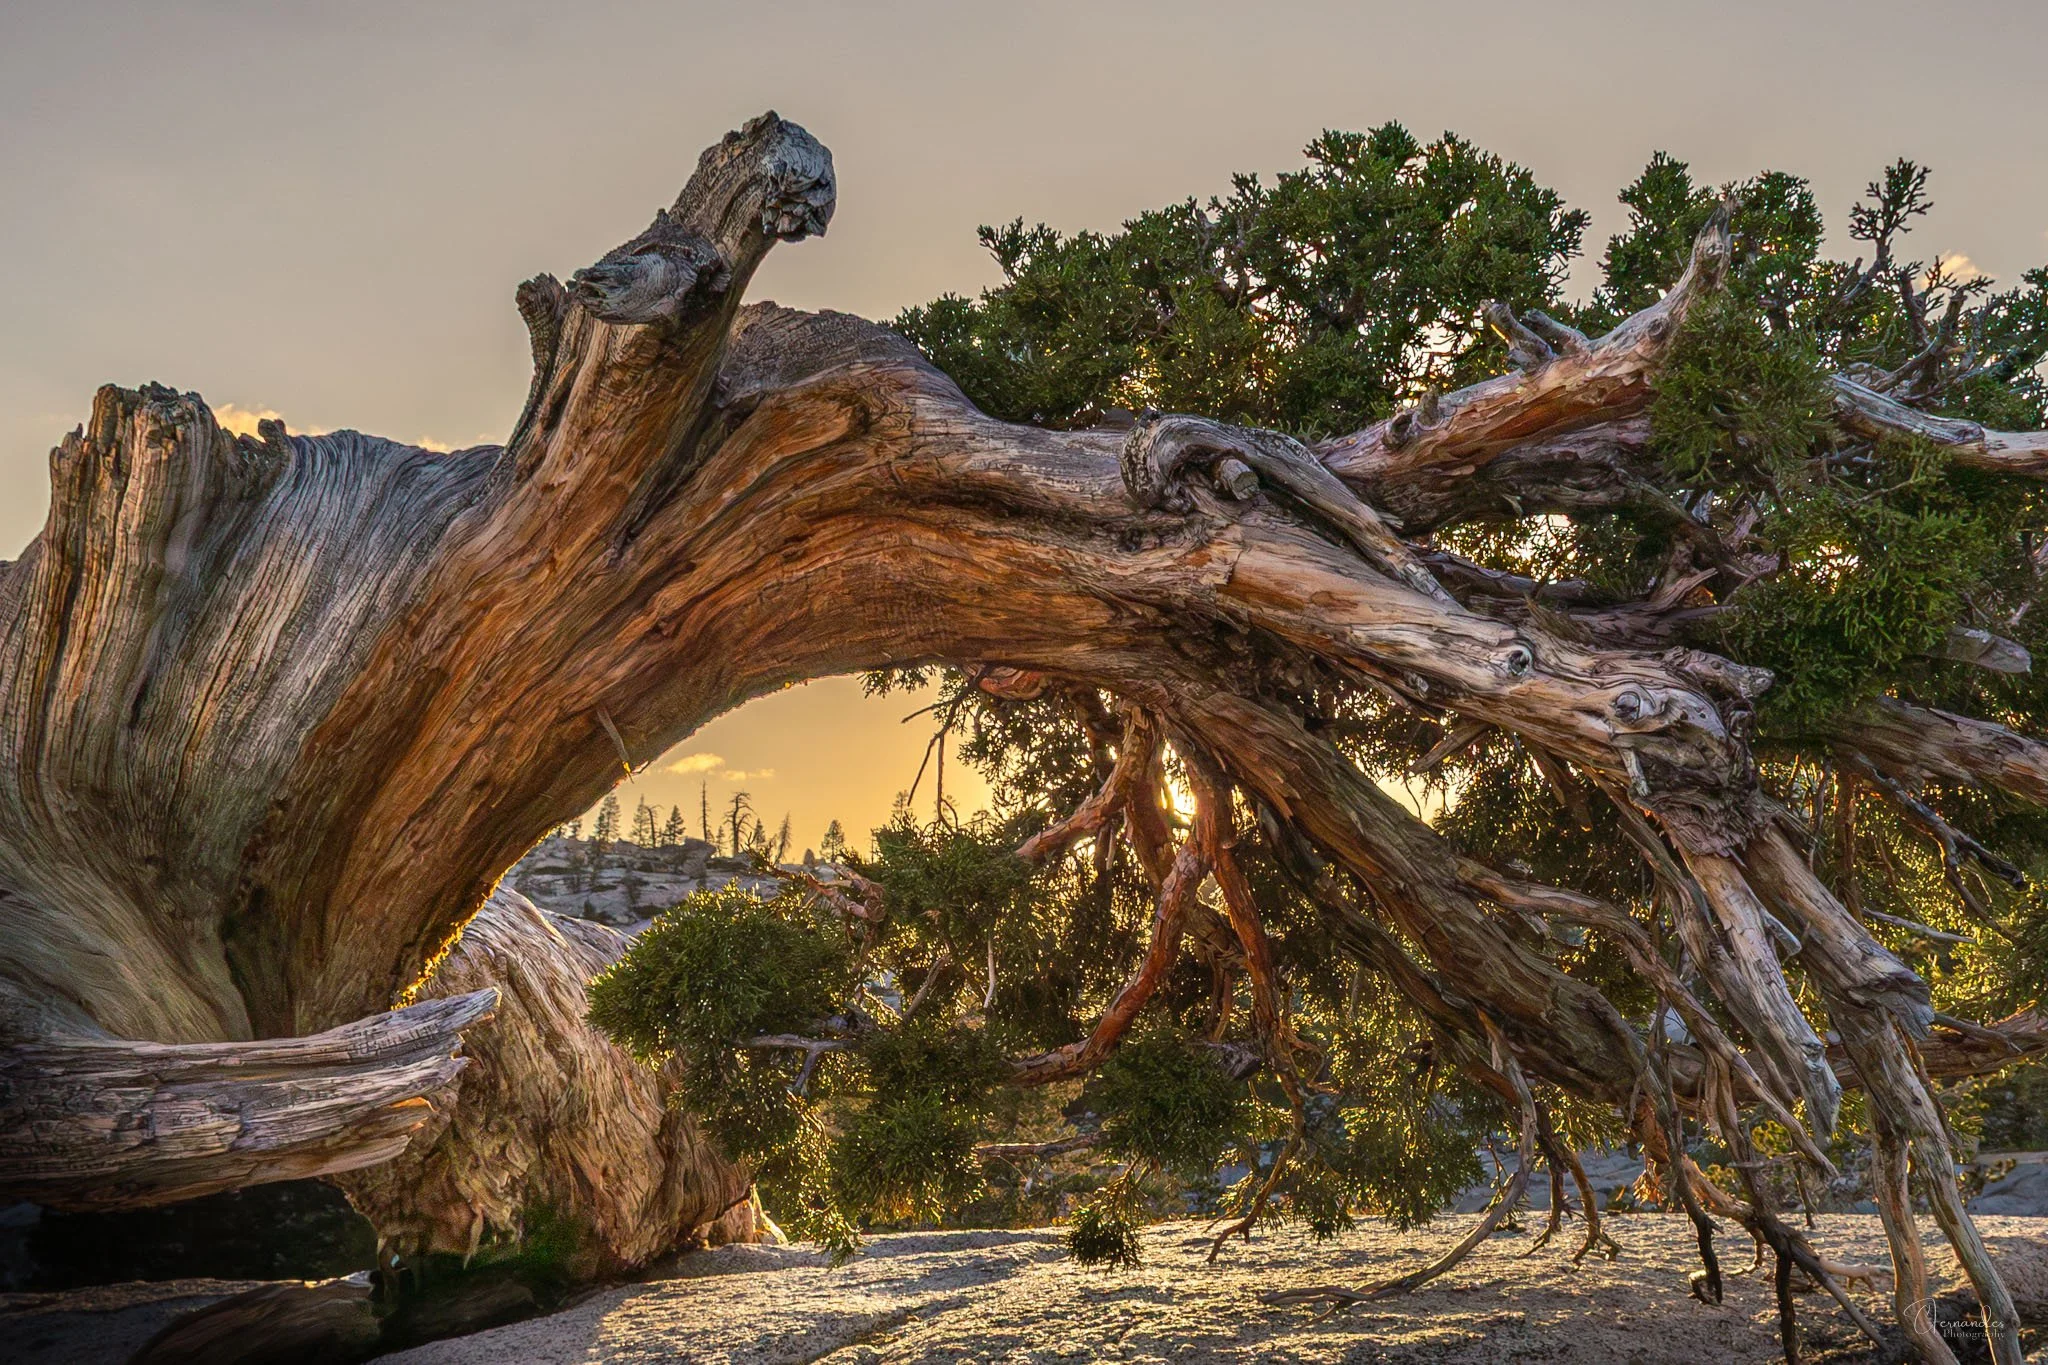
I arrived at Yosemite and stopped over at Olmsted Point right around Golden Hour. I pulled out my Photo Pills app and used the Night AR mode to try and visualize the milky way core position over Half Dome that night. I figured I could shoot over Tenaya Lake and Olmsted Point that night as they’re literally a mile or so away from each other. However, I didnt quite like what I saw and decided to move on. It was then I noticed this twisted old Juniper on a large granite rock just past the parking lot.
I spent the next half hour with that tree. The setting sun threaded through its natural arch, backlighting a cascade of ancient branches in warm amber. It became one of the best images of the trip — entirely unplanned.
Milky Way over Tenaya Lake
I made my way down to Tenaya Lake around dusk and found the spot I shot at last year. Unfortunately the water level was quite high and most of the beach was under the water line. As a result the foreground I had in mind was simply not to be. So I drove around and hiked a bit, finally setting up on a spot opposite Tenaya Peak. The milky way core would rise from behind Tenaya peak and I could capture it over the length of the lake.
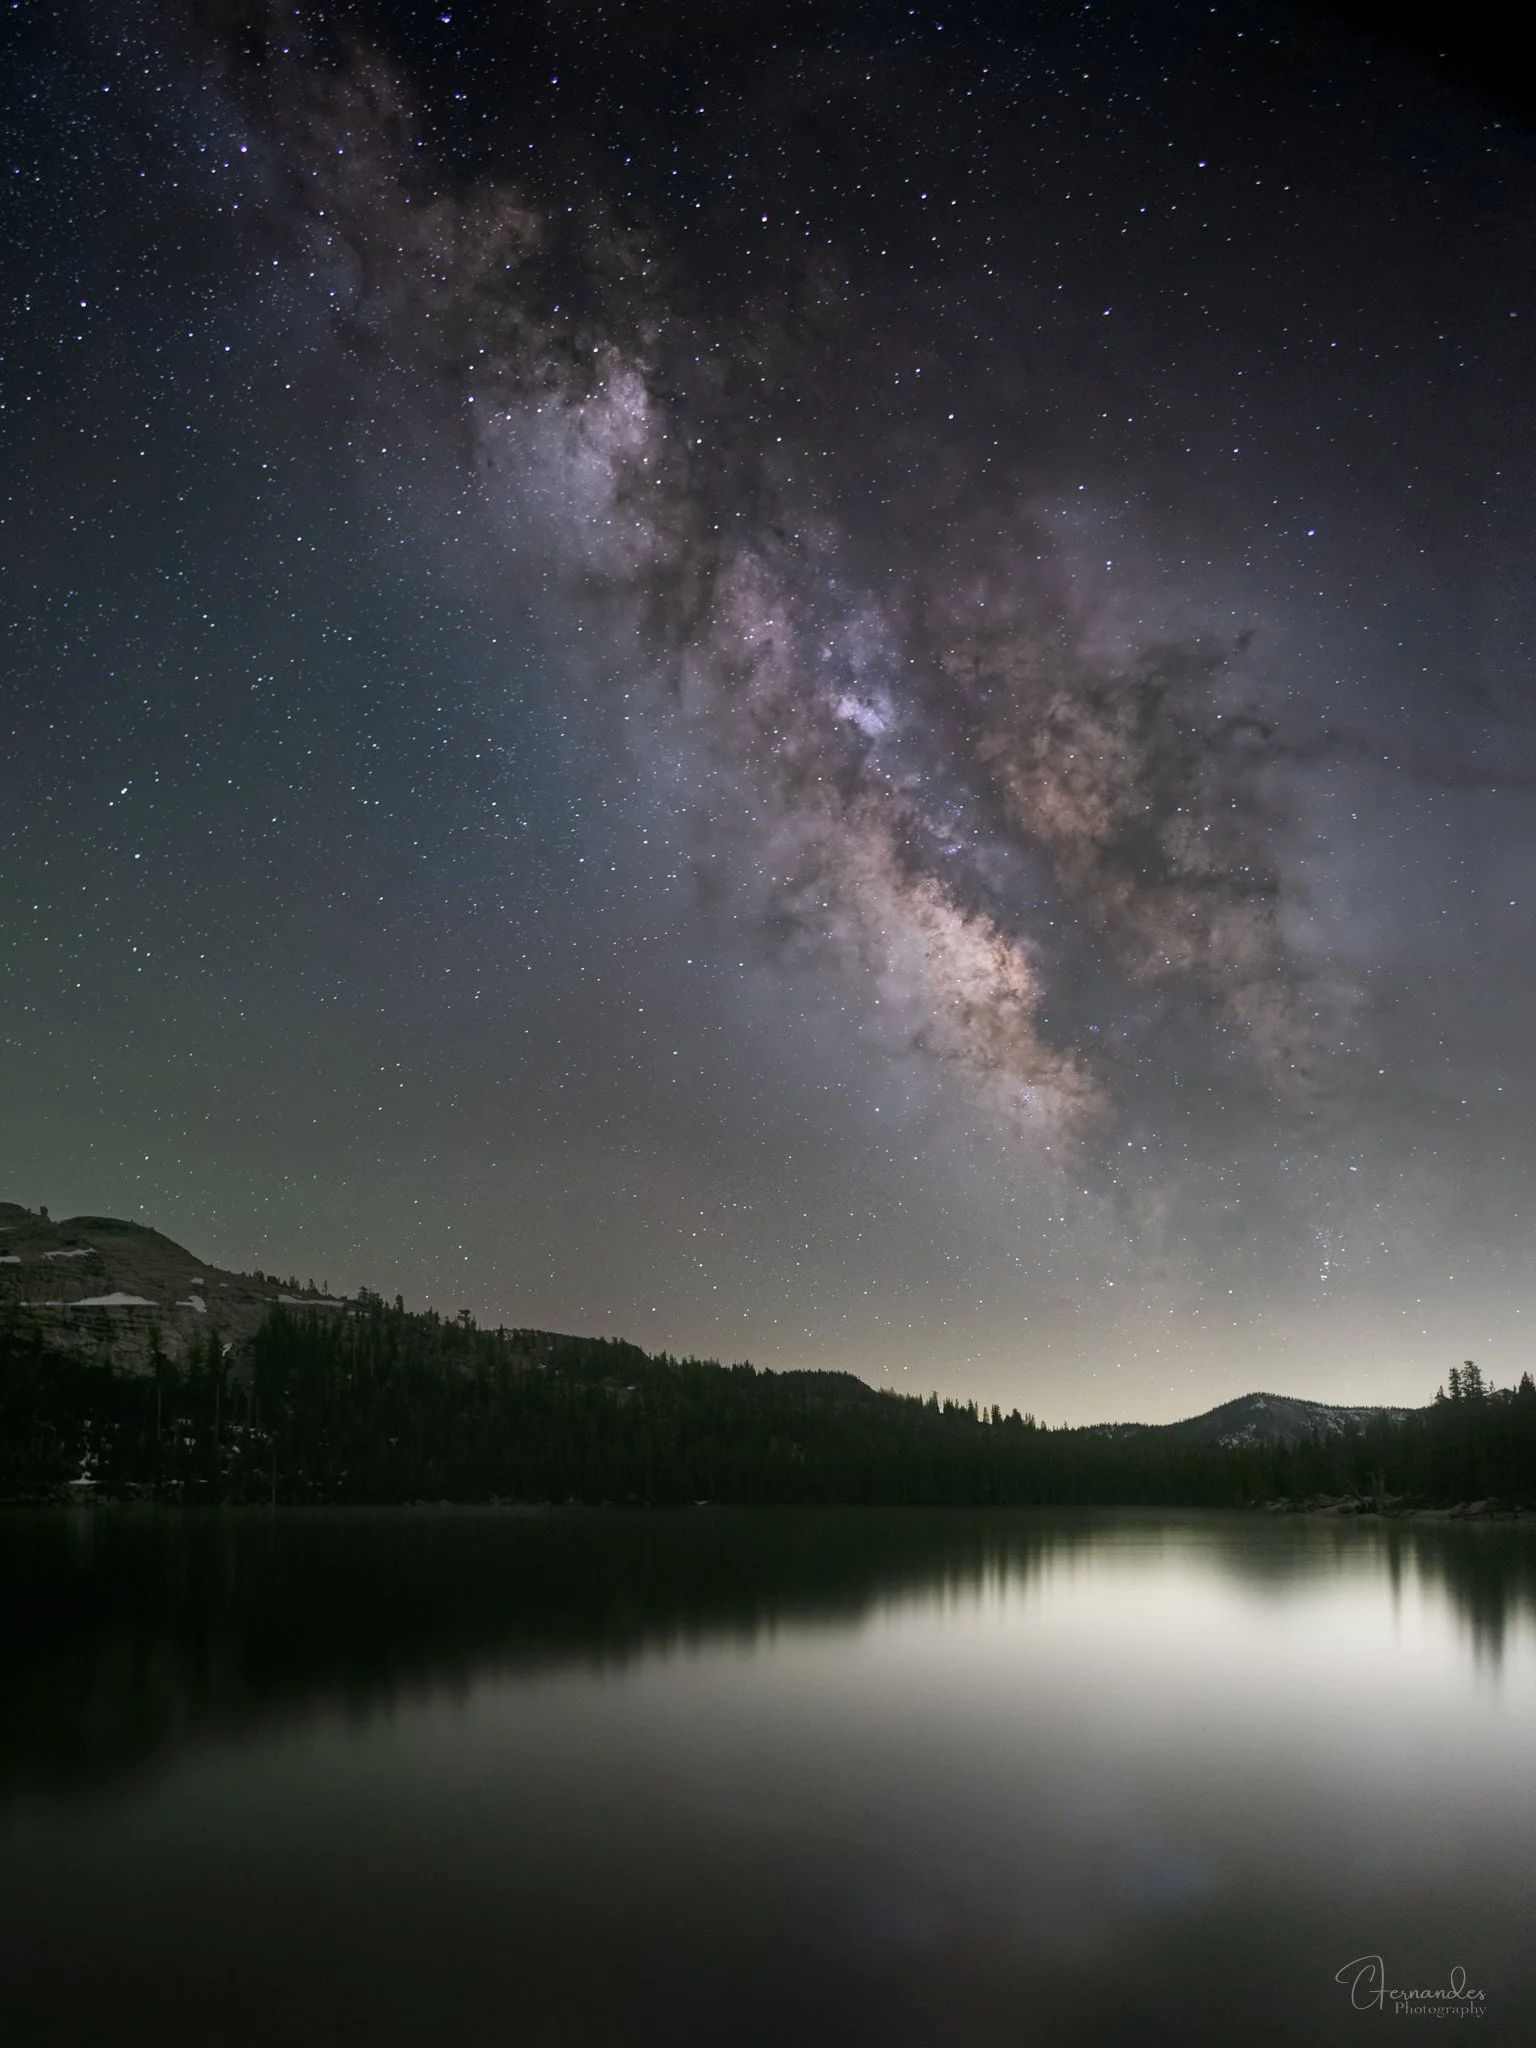
Then the waiting began. The Milky Way core wouldn't align over Tenaya Lake until around 3:30am. So I setup my GoPro Mission 1 Pro for a timelapse and captured a couple of other scenes as the milky way rose into the night sky.

Panorama of the Milky way core rising over Tenaya Peak with a nice reflection of the sky and mountains in Tenaya Lake.
Much like Wildlife Photography, the heavy lifting for a night sky shoot starts at home. Adjusting the camera settings, lining up for the composition and taking the shot is just 1% of the overall effort.
Night sky photography at this level is not point-and-shoot. The difference between a great Milky Way image and a mediocre one is almost entirely decided before you leave home.
Here is my planning workflow for every night shoot:
Viewing conditions — I use Xasteria to assess atmospheric transparency and seeing conditions. A clear night with poor transparency will still yield a disappointing sky. Xasteria gives you the full picture.
Shoot planning — PhotoPills is essential for knowing exactly when and where the Milky Way core will rise, its azimuth, and how it aligns with your chosen foreground. For this shoot, the core aligned over Tenaya Lake at approximately 3:30am. Without PhotoPills, I would have been guessing.
Moon phase and timing — this is non-negotiable. Even a half moon will wash out the Milky Way core completely. Check moonrise and moonset times and plan your shoot window around them. May and June offer a good window — the core rises before the sky gets too light at dawn, giving you a workable shooting period.
Weather — high altitude weather can change fast. Check forecasts obsessively in the days before, and have a backup location in mind.
Camera Setup
Most of my night sky photography (except for deep sky objects) is on a Canon R6 Mark II with a 16mm lens. My typical settings for Milky Way captures:
ISO: 3200
Exposure: 8–15 seconds (depending on viewing conditions). Longer exposures at 16mm require a star tracker. Photo Pills has a nice option to find the optimal expsure setting for the focal length of your choice.
Aperture: 2.8 (as wide as the lens allows)
Exposure time: Varies by location and conditions but I typically aim for at least a 5 minute exposure (stacked images)
The Foreground Problem — and My Mistake
Milky Way Core aligned along the length of Tenaya Lake with Pywiak Dome
A technically perfect Milky Way sky means nothing without a compelling foreground. This is where I fell short at Tenaya Lake.
I had the sky. I had the alignment. What I didn't have was a strong foreground subject — and I compounded that mistake by missing blue hour entirely. Those 20–30 minutes of deep blue twilight before full darkness would have given me properly exposed granite domes, snow patches, and treeline with real detail and color. Instead I was so focused on making up for lost sleep the previous night that I let the window pass.
The fix I should have used: shoot blue hour frames for the landscape, shoot the stars later, and blend them in post as separate layers. You can match the horizon line precisely in Photoshop and get a composite that looks completely natural. I had about a six-hour wait anyway. Twenty minutes of blue hour shooting would have cost me nothing and potentially transformed the image.
Post-Processing Workflow
My astrophotography post-processing happens across three applications:
StarryLandscapeStacker — I stack multiple exposures to reduce noise in the sky while keeping the foreground sharp. This is the foundation of a clean Milky Way image without the noise penalty of extreme ISO pushing.
StarXterminator — this Photoshop plugin gives me precise control over star rendering and the Milky Way core. It allows me to work the nebulosity and core detail separately from the surrounding stars, which makes a significant difference in the final look of the galactic center.
Lightroom and Photoshop — final processing happens here, working with separate layers for the night sky and foreground. Keeping them separate means I can adjust white balance, exposure, and color independently for each zone without compromising either.